 After deciding to take some time off from animating, to undertake some self-taught digital painting courses that I've been planning to do for years, the daily struggle of maintaining my motivation and discipline to pursue this goal is becoming a real issue for me. After getting used to the pressures of either the quota and deadlines, even if I now find myself liberated from all that stress, I feel a bit disoriented and directionless at the same time. Not to mention, isolated from fellow artists, who all can be inspiring influences to me artistically.
One of the benefits of working in an animation studio environment is the constant pressure to do your best work. Otherwise, your work will not go through down the pipeline. I don't have that pressure anymore so it's easy to slide into laziness and procrastination. Nonetheless I must constantly keep my sights clearly on my goals and keep going. And so, after finishing Bobby Chiu's Digital Painting self-taught online course, which took me longer to finish than it should be, due to the above-mentioned reasons, I decided to test myself out on what I've learned so far by painting something fun.
Since I undeniably like dogs, I knew drawing and painting them will always be an enjoyable exercise. Thus, I decided to paint my sister's pet Husky, named Fluffy. Then give it to her as a Christmas gift once it's done.
The challenge of this exercise for me was in how to illustrate the dog's solid form and it's soft fur convincingly. Also keeping the likeness at the same time.
And so, here's the process I've learned from the course:
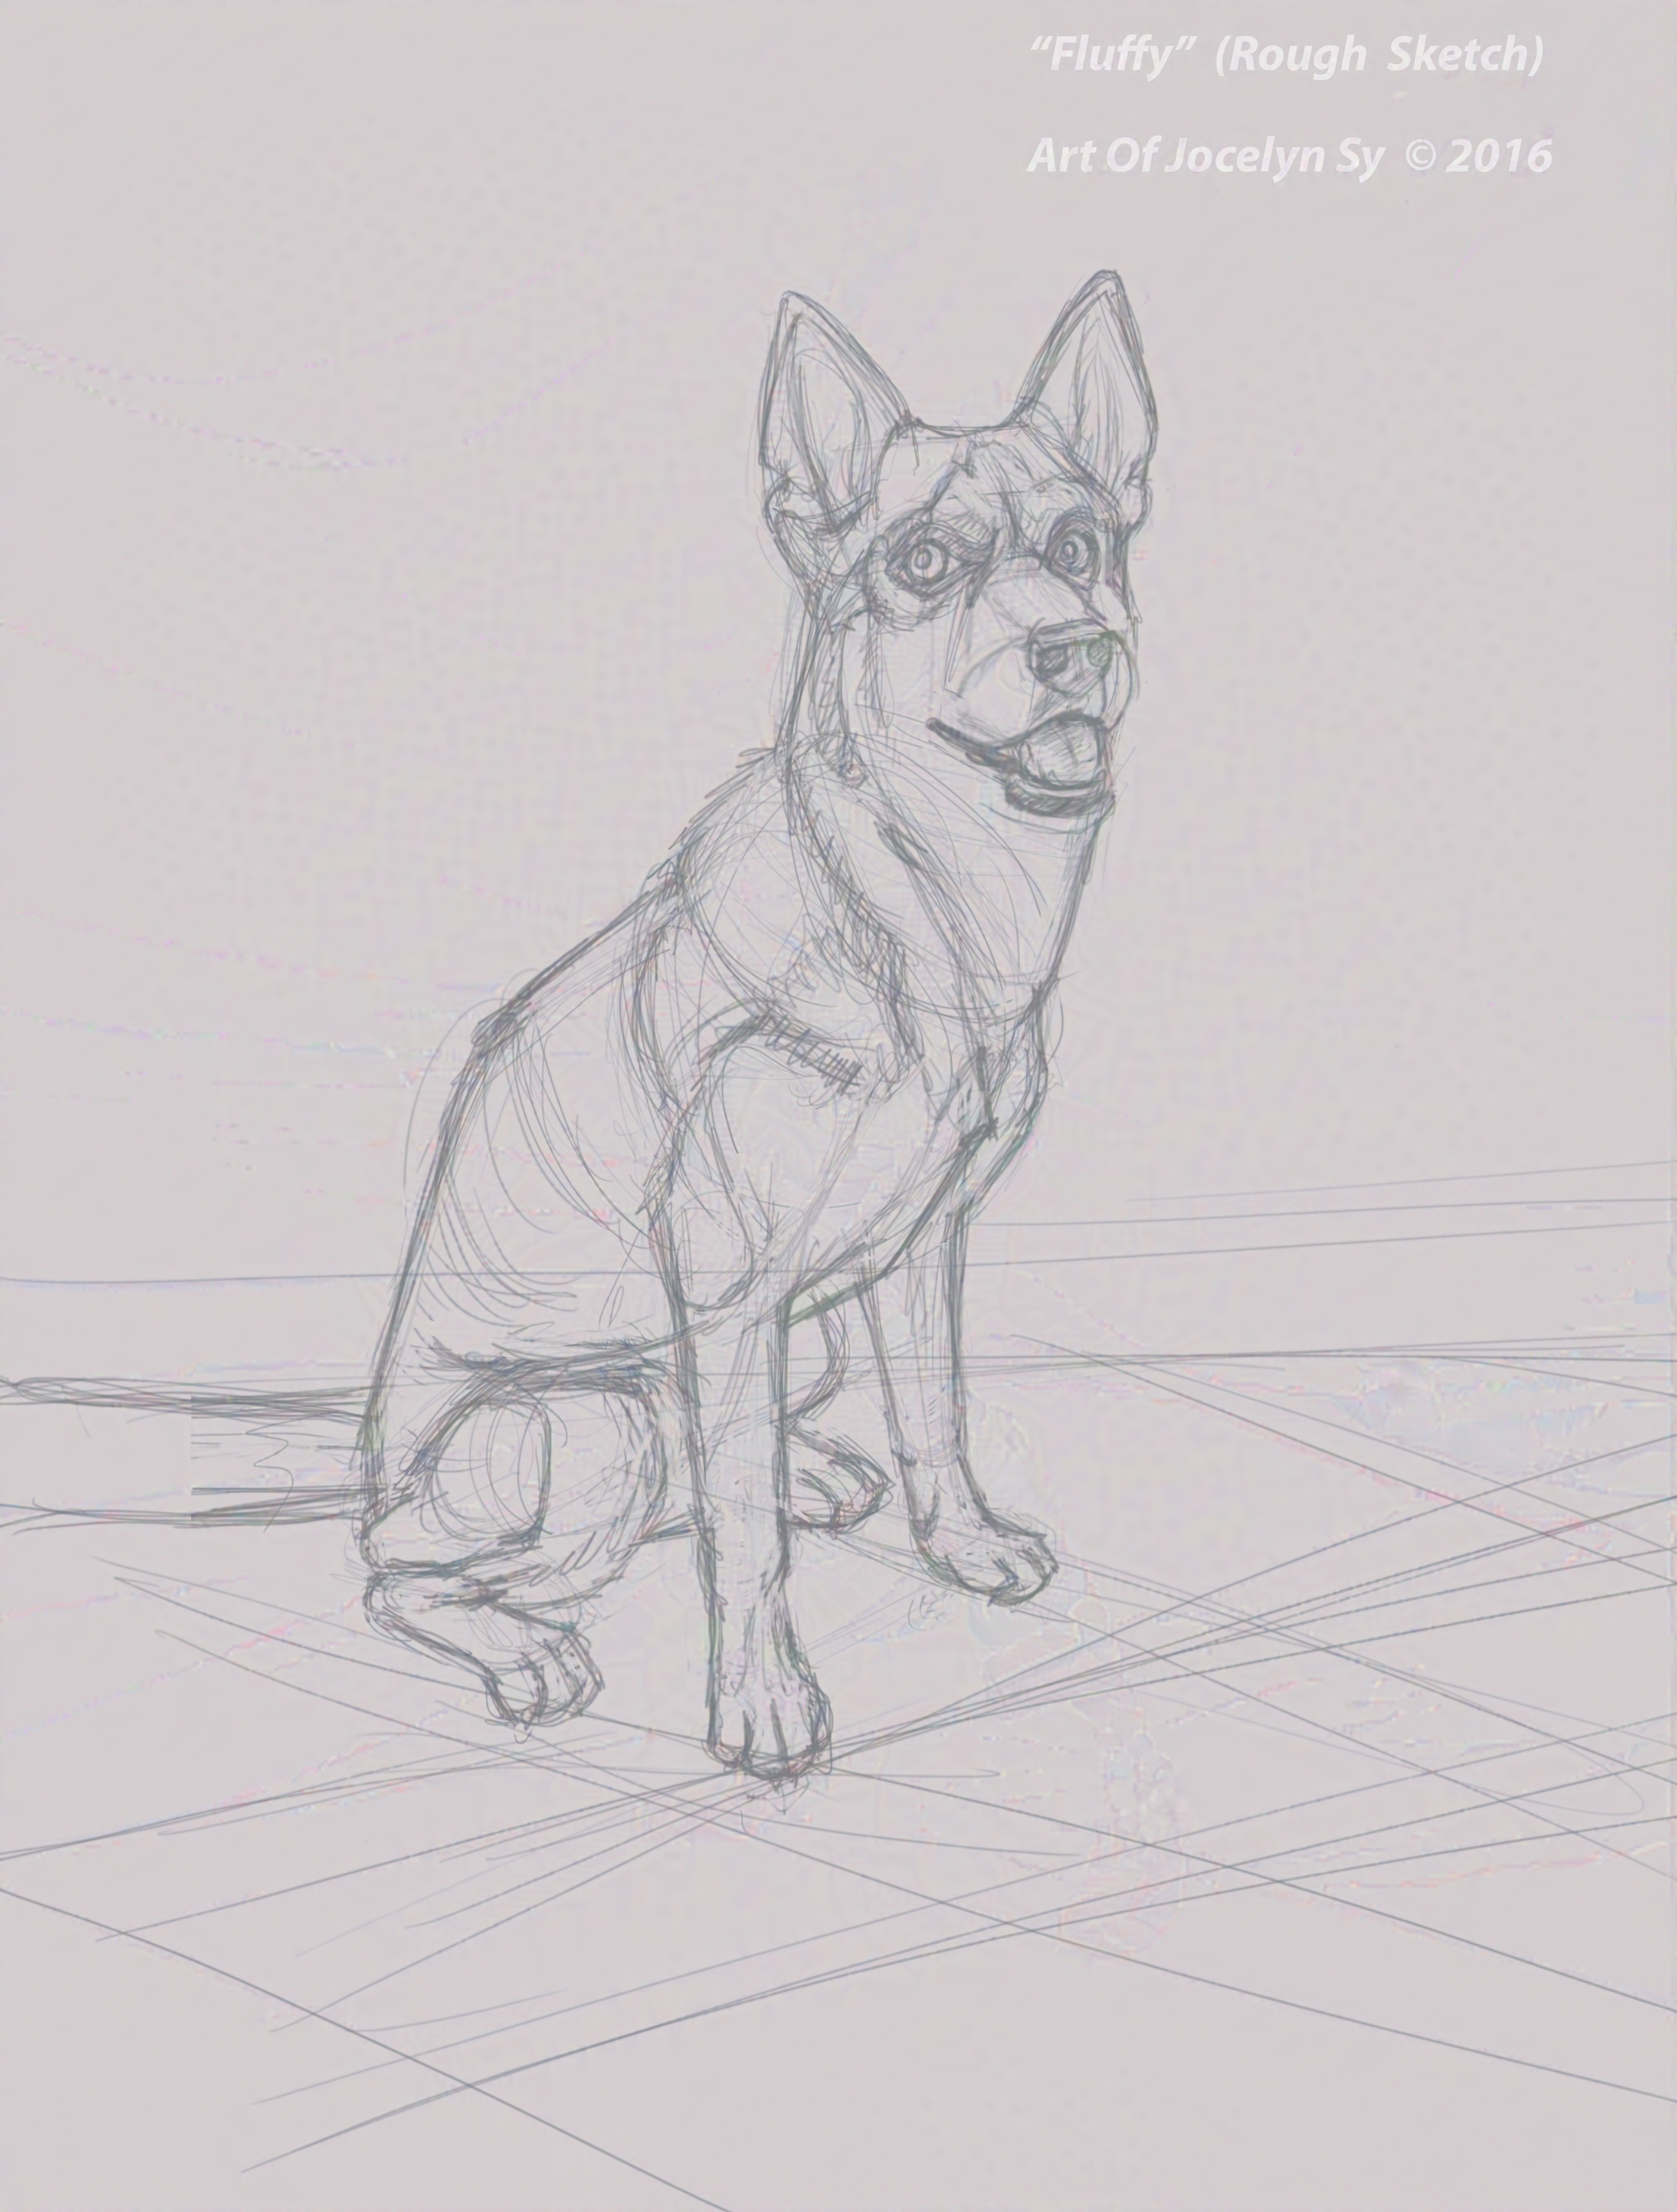
1. I started out with a free-hand rough sketch of the dog in Photoshop using a photo as my reference. Making sure that I do a solid, well-constructed drawing, which would serve as a foundation of the painting. For me, solid drawing is the key to a successful painting. (Click to enlarge)

2. Next, I put in the dark tones. I also created a grey scale palette, so picking out the right tones would be easier.

3. Then the light tones were applied next. I repeated this process of going back and
forth between the two tones of lights and darks. Slowly building up the different values until it's complete. One beauty of painting digitally is, any corrections are easily done by cutting, resizing, and pasting them back, which is what I've done to the body to change it's proportion.

4. Next I added the furs. Some were painted with the round hard and soft brushes. Some were pushed and pulled with the smudge tool. And in some selected areas, fur texture were subtly painted-in on top. Everything needs to look organic. Shadows were added on another layer below the dog. One thing that was always taught to me, is to keep the subject grounded, So adding cast shadows underneath the subject will do the trick.

5. Once I'm happy
with the values, and everything, it's time to add color. On another layer set to the color blend mode, I glazed in the colors for the ears, tongue and body. And for the background, I used the gradient tool and added in 2 colors, with the lightest on the right upper part, to imply where the light source is coming from.

6. To help make it look less digitally sleek, I added some noise and texture filters overall to simulate a traditionally-painted.look. So if you look at it up-close, textures can be seen.
Here is the final version.
Here is the final version.

If you like it, tell me in the comments box.Thanks.
No comments:
Post a Comment
Thanks for dropping by, would love to hear from you ...