Tuesday, April 25, 2017

Daily Sketch Day 18 - Golden Retriever Puppy


After drawing horses for a week, it's drawing canine week starting today.  I'm starting off with a cute Golden Retriever puppy. This sketch is very loose and painterly-looking.  The fur still needs a lot of work but I ran out of time.  Just have to let it go and start anew tomorrow. Sleepy now.


Monday, April 24, 2017

Daily Sketch Day 17 - Three Donkeys


As part of the equine family, I just have to draw donkeys as well. They're just basically the smaller version with longer ears.  I think they're a really cute.


Sunday, April 23, 2017

Daily Sketch Day 16 - Horseplaying Zebras


Still on my drawing horse week, I decided to vary things up a bit by drawing zebras, which are also of the equine species.  I don't remember having drawn much zebras before or it must have been when I was still very young and can't draw animals properly,  But now that I can, I just realized how helpful those zebra stripes are in indicating their three dimensional form.  One benefit of drawing is you're force to take a closer look at your subject as if for the first time and notice things you wouldn't normally have.  And I'm amazed at how those stripes really conforms to the zebras' body like construction lines.  Great visual cues for drawing.


Saturday, April 22, 2017

Daily Sketch Day 15 - Horse Call


 Instead of my usual three horses I added one more, because the composition calls for it. As a result, this sketch took me longer to finish.  This time it's a sketch study of horses in recline plus a horse neighing.  So I drew them lying around while one horse calling them out for their laziness.  Such fun!


Thursday, April 20, 2017

Daily Sketch Day 14 - Grazing Horses


Learning to draw any animal must involve learning to draw them in different poses. Thus the three horses,   I'm also experimenting with the rendering style, by keeping it loose and keeping the pencil lines visible.


Wednesday, April 19, 2017

Daily Sketch Day 13 - Gossiping Horses


Continuing with the horse theme for this week, I drew three of them focusing on the head in different views.  And because of the way they are grouped together, I titled this drawing as Gossiping Horses.
Haha...


Tuesday, April 18, 2017

Daily Sketch Day 12 - Running Horses

For today's sketch, it's running horses. I kept the pencil outline visible on top of the colors, and placed the horses on a grassy background which gave this sketch a more illustration-style look.  My style is still evolving at this point, so it's fun playing around with this look,


Tuesday, March 28, 2017

Bunny Rabbit's New Look!

        When I designed the original Bunny almost 4 years ago, I was just starting to learn digital painting in Photoshop.  I wanted to see if I could animate a single image without having to draw the character multiple times.  And so, based on a single fully rendered image,  I edited it by cutting, distorting and pasting the character's body parts to create the different poses of  the action. Any additional drawings needed was kept to the minimum.  I achieved what I wanted at the time. 


New cleaner design
      Since then, my understanding of the built-in timeline have improved and so is my character design sense. It's been awhile since I've animated in Toon Boom that I have already forgotten how to use it.  Photoshop is not my ideal animation application to use, but it can do simple animation loop like this well enough that can be exported to GIF easily.   So I decided to use Photoshop instead.


New lighter color with some pink added.
     

         So last weekend, I decided to give Bunny Rabbit a new look and new animation.  The old version was a 10-drawing cycle.  This time, I added more drawings, cleaner lines, and a more streamlined design.  I drew the face and body with a more feminine look.  The head is more triangular, reminiscent of  Kisses chocolates. The eyes are also triangular to complement the overall shape. The eyebrows are thinner, the lashes longer and more pronounced.
        Instead of the skipping animation cycle of the old version, I animated the thumping foot from one side to the next, reminiscent of Thumper's foot thumping in the Disney classic film Bambi. This bunny is inspired by Thumper after all.


A 26-drawing animation cycle.
A more feminine design
The animation is a bit longer now with 26 drawings. Instead of editing from a single fully rendered image, I did it just like how I would do it if it's done traditionally.  Line key poses were animated first, then in-between drawings were added after. Once the timing of the action  was done, colors were added in.


FX and Drop Shadows added

        I kept the original theme of the blue bordered box to contain the bunny, for continuity reasons. Who knows, this might still evolved in the future.  I added some FX and Drop Shadow elements on top of the finished animation to help it pop out more from the blue background.  This wouldn't be complete without the Pixie dusts, so I reused the old dust animation cycle but changed its timing. It's now a bit slower and dragging a bit. 

        And so.... here's the new, improved animated icon of this blog.

Bunny Rabbit Pixie Dust logo


Wednesday, November 16, 2016

Fluffy - Testing My Digital Painting Skills


After deciding to take some time off from animating, to undertake some self-taught digital painting courses that I've been planning to do for years, the daily struggle of maintaining my motivation and discipline to pursue this goal is becoming a real issue for me. After getting used to the pressures of either the quota and deadlines, even if I now find myself liberated from all that stress, I feel a bit disoriented and directionless at the same time.  Not to mention, isolated from fellow artists, who all can be inspiring influences to me artistically.

One of the benefits of working in an animation studio environment is the constant pressure to do your best work. Otherwise, your work will not go through down the pipeline.  I don't have that pressure  anymore so it's easy to slide into laziness and procrastination.  Nonetheless I must constantly keep my sights clearly on my goals and keep going.  And so, after finishing Bobby Chiu's Digital Painting self-taught online course, which took me longer to finish than it should be, due to the above-mentioned reasons, I decided to test myself out on what I've learned so far by painting something fun. 

Since I undeniably like dogs, I knew drawing and painting them will always be an enjoyable exercise.  Thus, I decided to paint my sister's pet Husky, named Fluffy. Then give it to her as a Christmas gift once it's done.

The challenge of this exercise for me was in how to illustrate the dog's solid form and it's soft fur convincingly. Also keeping the likeness at the same time.

And so, here's the process I've learned from the course:
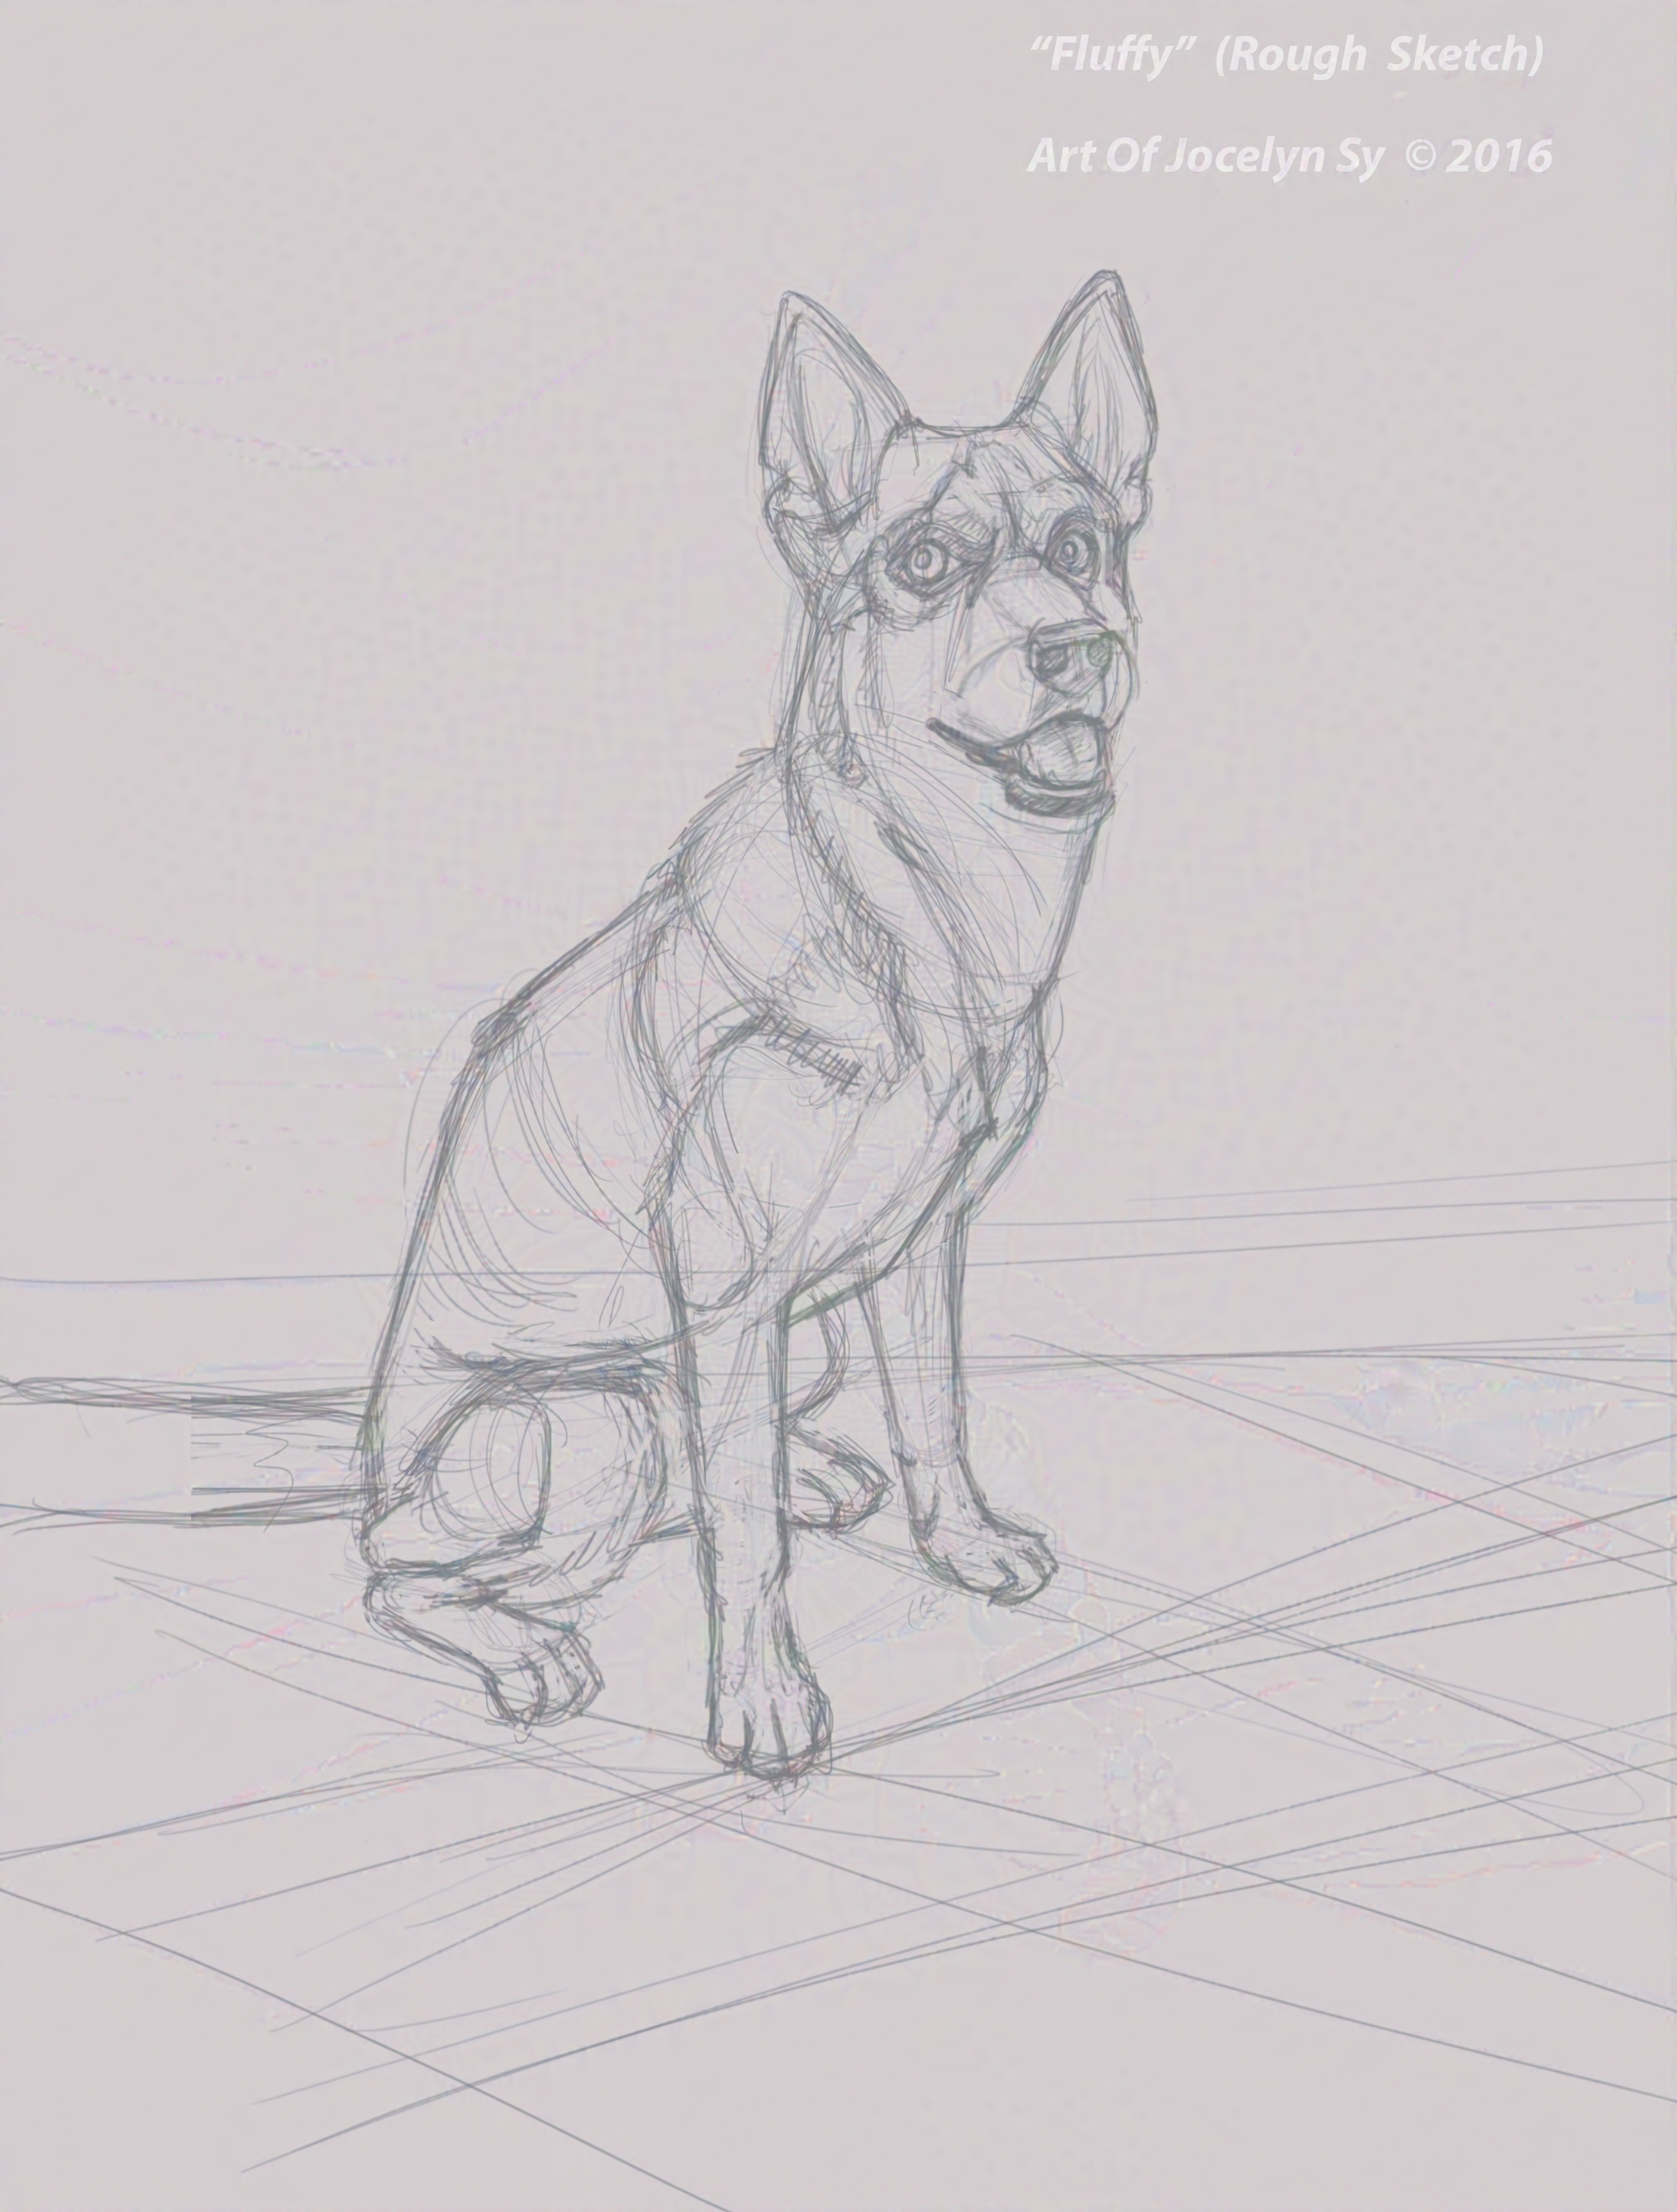
1. I started out with a free-hand rough sketch of the dog in Photoshop using a photo as my reference.  Making sure that I do a solid, well-constructed drawing, which would serve as a foundation of the painting. For me, solid drawing is the key to a successful painting.  (Click to enlarge)


    2. Next, I put in the dark tones. I also created a  grey scale palette, so picking out the right tones would be easier.


  3. Then the light tones were applied next.  I repeated this process of going back and forth between the two tones of lights and darks. Slowly building up the different values until it's complete. One beauty of painting digitally is, any corrections are easily done by cutting, resizing, and pasting them back, which is what I've done to the body to change it's proportion.


4. Next I added the furs. Some were painted with the round hard and soft brushes. Some were pushed and pulled with the smudge tool. And in some selected areas, fur texture were subtly painted-in on top. Everything needs to look organic.  Shadows were added on another layer below the dog. One thing that was always taught to me, is to keep the subject grounded, So adding cast shadows  underneath the subject will do the trick.


5. Once I'm happy with the values, and everything, it's time to add color. On another layer set to the color blend mode, I glazed in the colors for the ears, tongue and body. And for the background, I used the gradient tool and added in 2 colors, with the lightest on the right upper part, to imply where the light source is coming from.


6.  To help make it look less digitally sleek, I added some noise and texture filters overall to simulate a traditionally-painted.look.  So if you look at it up-close, textures can be seen.

Here is the final version. 


If you like it,  tell me in the comments box.Thanks.


Monday, October 17, 2016

Creature Animation Demo reel

Eight months ago, I enrolled in a 3-month online Creature Animation Course, and learned some techniques on how to animate quadrupeds. I did it full-time, because I didn't think I'll be able to balance work and learning this simultaneously without affecting both my professional work and my health negatively.  It was really intense, yet fun. In the end, I'm happy with the what I have done.

Here's the result.  Enjoy!


Creature Animation by Jocelyn Sy from Jocelyn Sy on Vimeo.